As a Windows user, you might see the Microsoft Compatibility Telemetry(CompatTelRunner.exe) process causing high CPU usage, which brings about problems on your Windows 10 PC. Still, many users encounter the Windows Compatibility Telemetry high CPU, thus disclosing it on Microsoft communities in search of a solution.

Microsoft Compatibility Telemetry is a process designed to collect and send usage data to Microsoft. However, the process has been accused of causing high CPU usage, and users wonder if to disable it. Compatibility is an inbuilt system in windows 7, 8, and 10 that relays system performance regularly to Microsoft to analyze user experience with the intent to improve where necessary.
The software is also responsible for identifying compatibility issues when installing and updating Windows OS’s latest updates. The process will result in the CPU space being highly used as files are checked for compatibility or when an update is initiated.
What is Microsoft Compatibility Telemetry?
A program that collects information on usage and performance then sends it to Microsoft for improvement. It is common for Windows users to join the Microsoft Customer Experience Improvement Program mostly by default.
The service has information on how devices work on windows and their related software that sends these details to Microsoft for fixing or improvement for a better user experience. Scanning and verifying these files results in high CPU space consumption in Windows 10, where there is an update.
And as a result, users experience the Microsoft Compatibility Telemetry High CPU; hence the performance of your PC is affected. Once you encounter this hindrance, you can access the Task Manager’s software to stop the process somehow.
Reasons to Turn off Windows Telemetry service
It is not uncommon for users to seek help in solving high CPU usage in Windows 10. They encounter the Microsoft Compatibility Telemetry eating up massive space, thus causing your PC to lag or rash programs, which raises privacy issues with users. There are four levels of Microsoft Windows diagnostic data collection, namely: Security, Basic, Enhanced, and full analysis.
These diagnostic levels differ in size and data, but it is the user’s choice to run the services or not. Everyone values privacy, and that’s why it is possible to disable your computer’s tracking service. No one wants a sluggish PC, and to add on to it, a little more privacy can make it better.
Disabling CompatTelRunner.exe on your Windows is possible following the simple steps in this guide.
1. Disable Microsoft Compatibility Telemetry
Fixing the Microsoft Compatibility Telemetry high CPU usage is easy if you disable the service. Here are three ways to disable it.
Set Diagnostic and Usage Data to Basic
Here the user data collection in your Windows system will be limited but not disabled in these steps:
- Click on Start > select Settings > then Privacy.
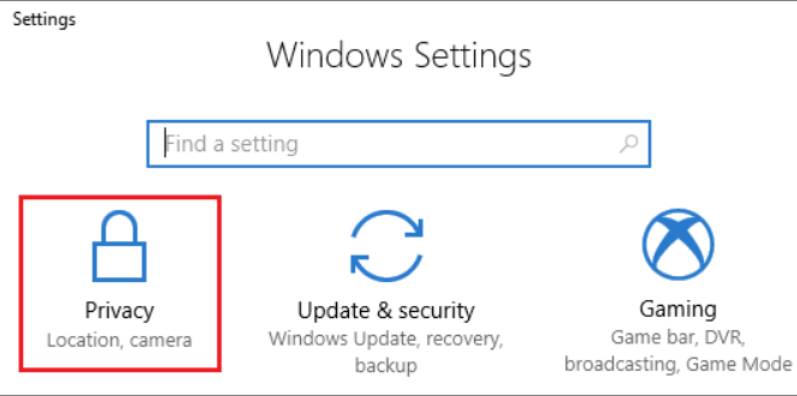
- On the left panel, select “Feedback & diagnostics”> then change the Diagnostics and usage data to Basic. The data sent to your Windows will be limited, and the chances of being hacked will now be slimmer.
2. Disable Windows Compatibility Telemetry from Group Policy Editor
Here you try to disable the service from the Group Policy Editor following the detailed steps below.
- Click on the Windows key + R, then type gpedit.msc and press OK
- Double-click on Allow Telemetry
- Select Disable, then tap OK to save the changes
- Right-click on the taskbar to summon the Task Manager so that you can verify if the service is working or not and if not, use the registry editor as guided below to solve the issue.
3. Use the Registry Editor
- Click on the Windows key + R simultaneously to run the prompt, then type Regedit. Hit OK, and a user control account will open in a new window where your shoes should tap YES.
- Navigate to HKEY_LOCAL_MACHINE > SOFTWARE > Policies > Microsoft > Windows > DataCollection.
- Right-click on DataCollection then choose New > DWORD (32-bit value). Use this as the new value name and double-click on Allow Telemetry. Now change the Value data to 0 (zero), then tap OK to effect the changes.
Go back and restart your PC to see if the disabled service Microsoft Compatibility Telemetry High CPU has fixed the issue. However, if it does not work for you, and you don’t wish for the service to be completely disabled, you can restart your PC or update your windows 10 PC.
4. Update Windows 10
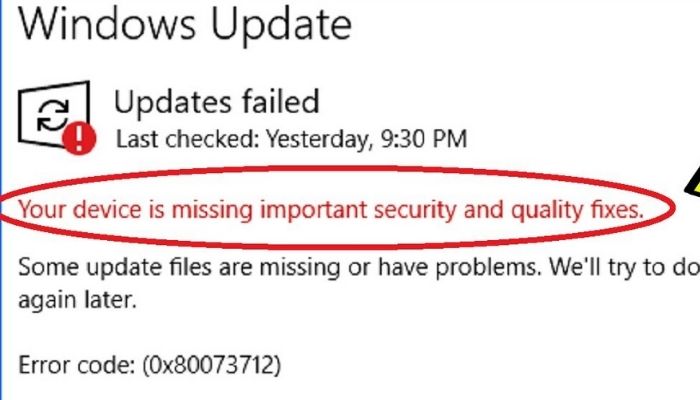
Since the Microsoft Compatibility Telemetry is primarily an update tool, updating Windows 10 to the latest available version may give you positive results. Go ahead and check for the latest Windows update and install it.
- Click on the Windows Startup menu, then go to Settings
- Navigate to Update & Security settings, then select Windows Update.
Once you find the latest available update, install it to your system, then restart your system and see if the problem is solved.
Conclusion
Hopefully, one of the above fixes helps solve the Microsoft Compatibility Telemetry High CPU problem. If none has worked for you, perhaps you need to search and identify other reasons why your PC has slow performance. If you have used another way to resolve the issue that we have not highlighted, kindly share with us.
READ MORE: How to Perform a Netsh Winsock Reset for Windows?